
Basic Settings
The Unifi line of products are amazing, the relatively low cost, the features, the stability…. the list goes on. I have spent over a decade using Ubiquiti products and have deployed many of them for small businesses, home users and even some more complicated installs using fiber optics to cover a million square foot underground warehouse to cover the main locations inside of it. I was able to do all of this using Unifi. The issue I run into with a lot of Network Engineers that are familiar with Cisco is that they overthink the configuration and try to hard to fit Unifi into the same bucket, granted most vendors such as Palo Alto, Fortinet, HPE etc.. use many of the same commands. Unifi is different and should be configured as such.
Router Install
- When you first get your Unifi equipment, create a Unifi Account.
- Download the Unifi App for your phone or tablet, open it and log in.
- Install your router.
- Mount it if necessary
- Cable all of you Unifi devices, this can be done after the fact as well but streamlines the process.
- Plug your ISP into port 9 which is marked on the UDM Pro/SE/Max
- Power up your UDM and wait a couple of minutes.
- Open the Unifi App and tap Set Up.

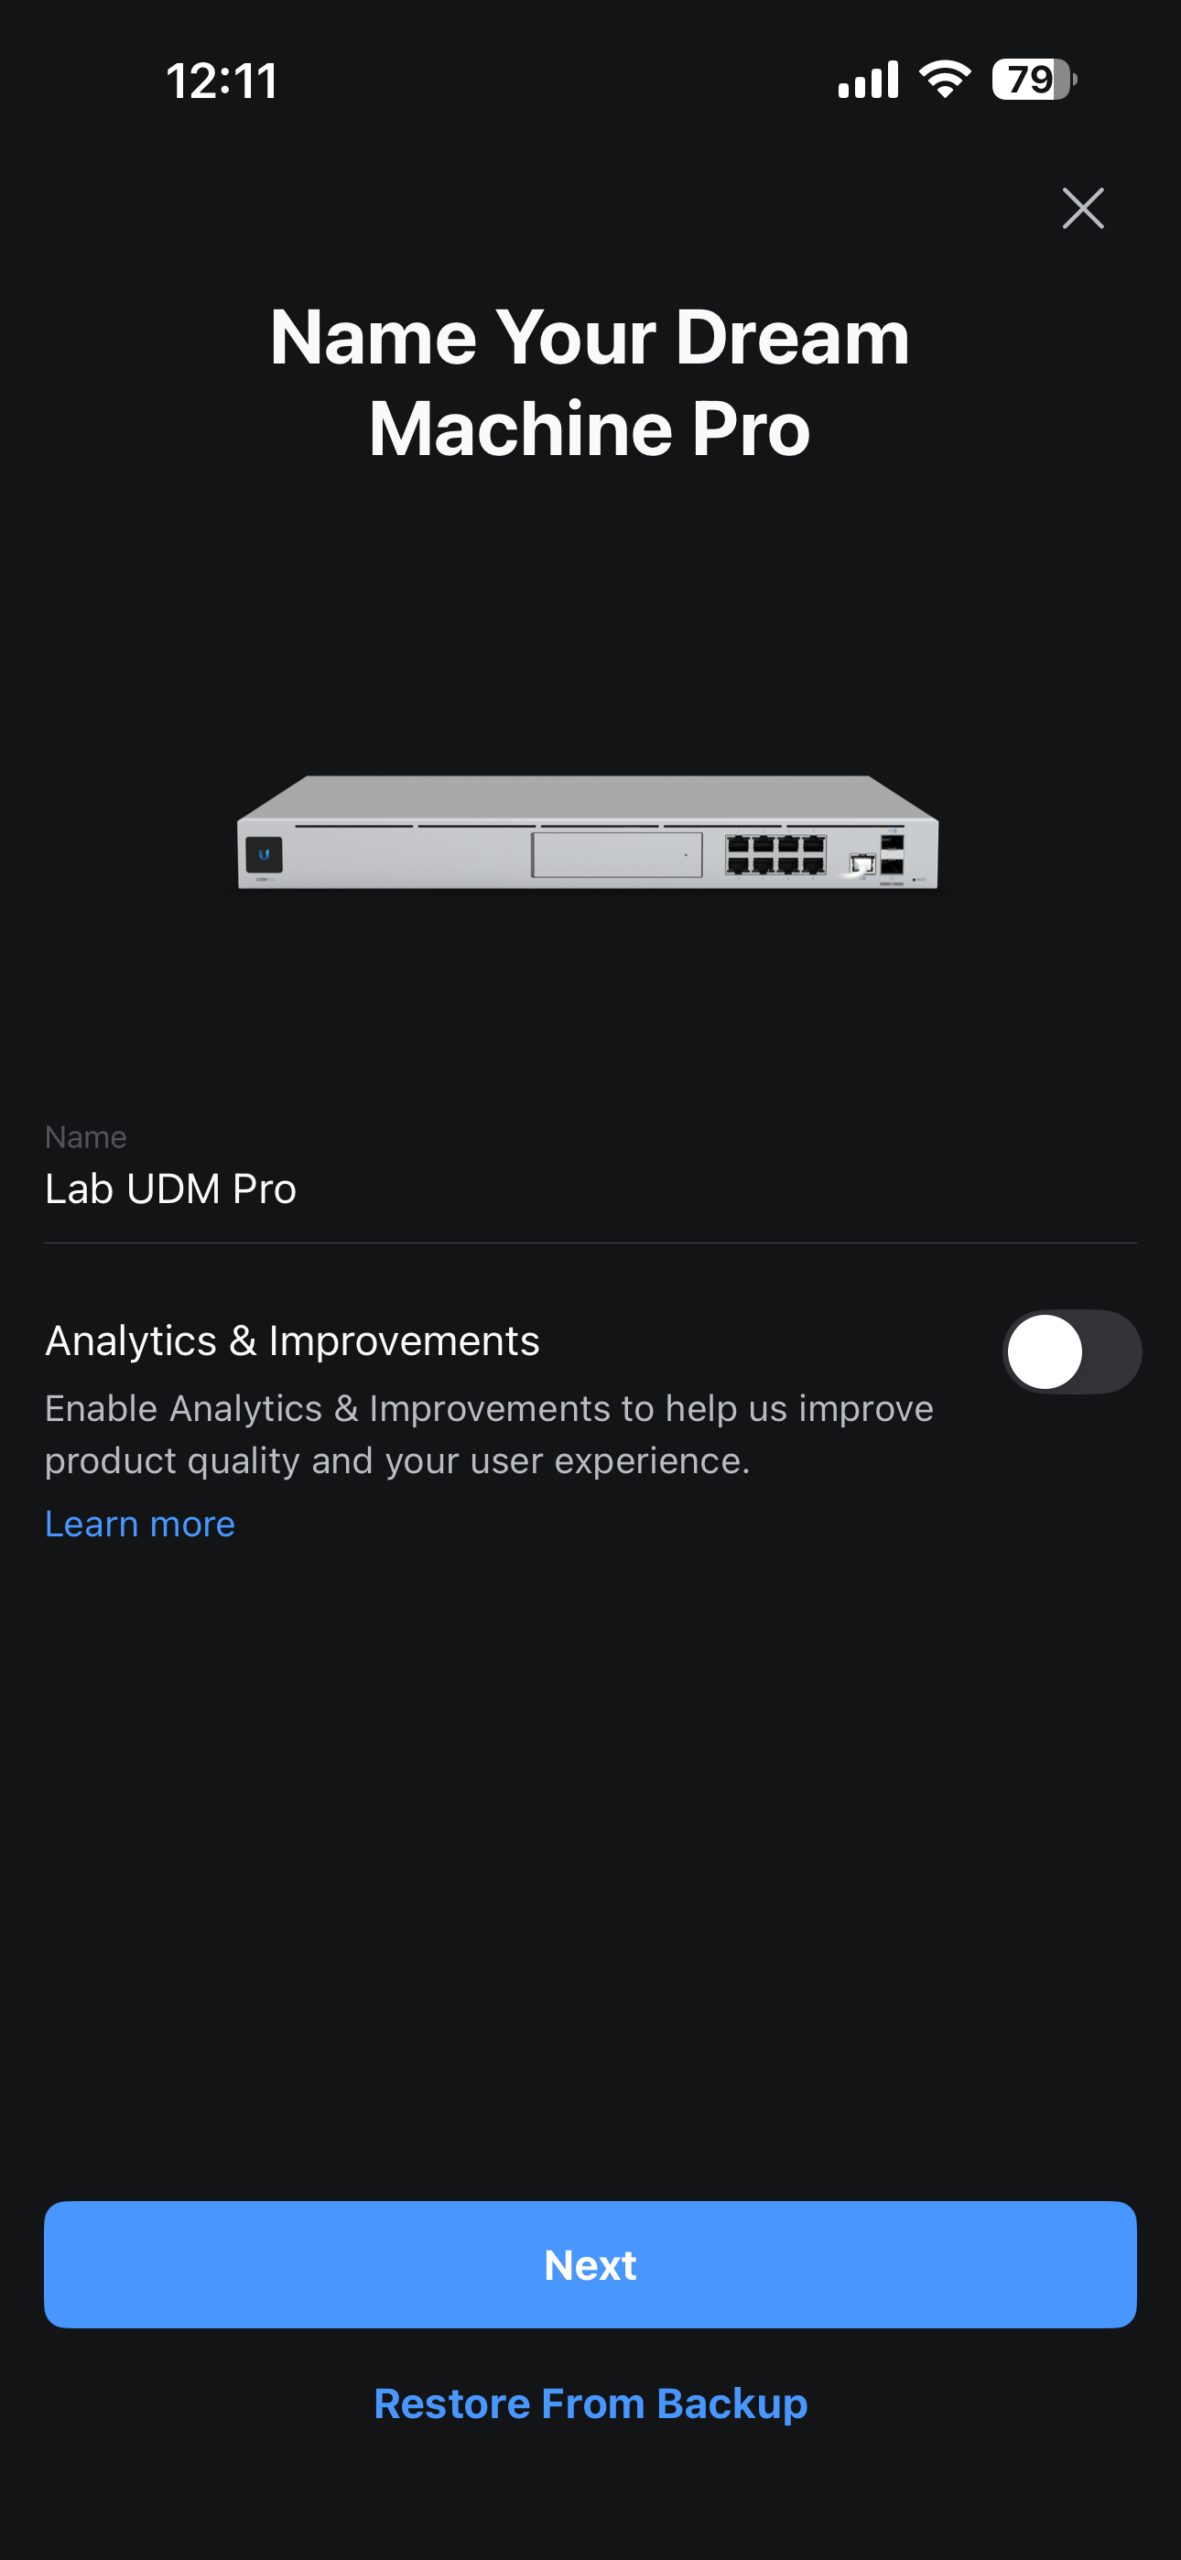
- Name your UDM based on your standards and tap Next.
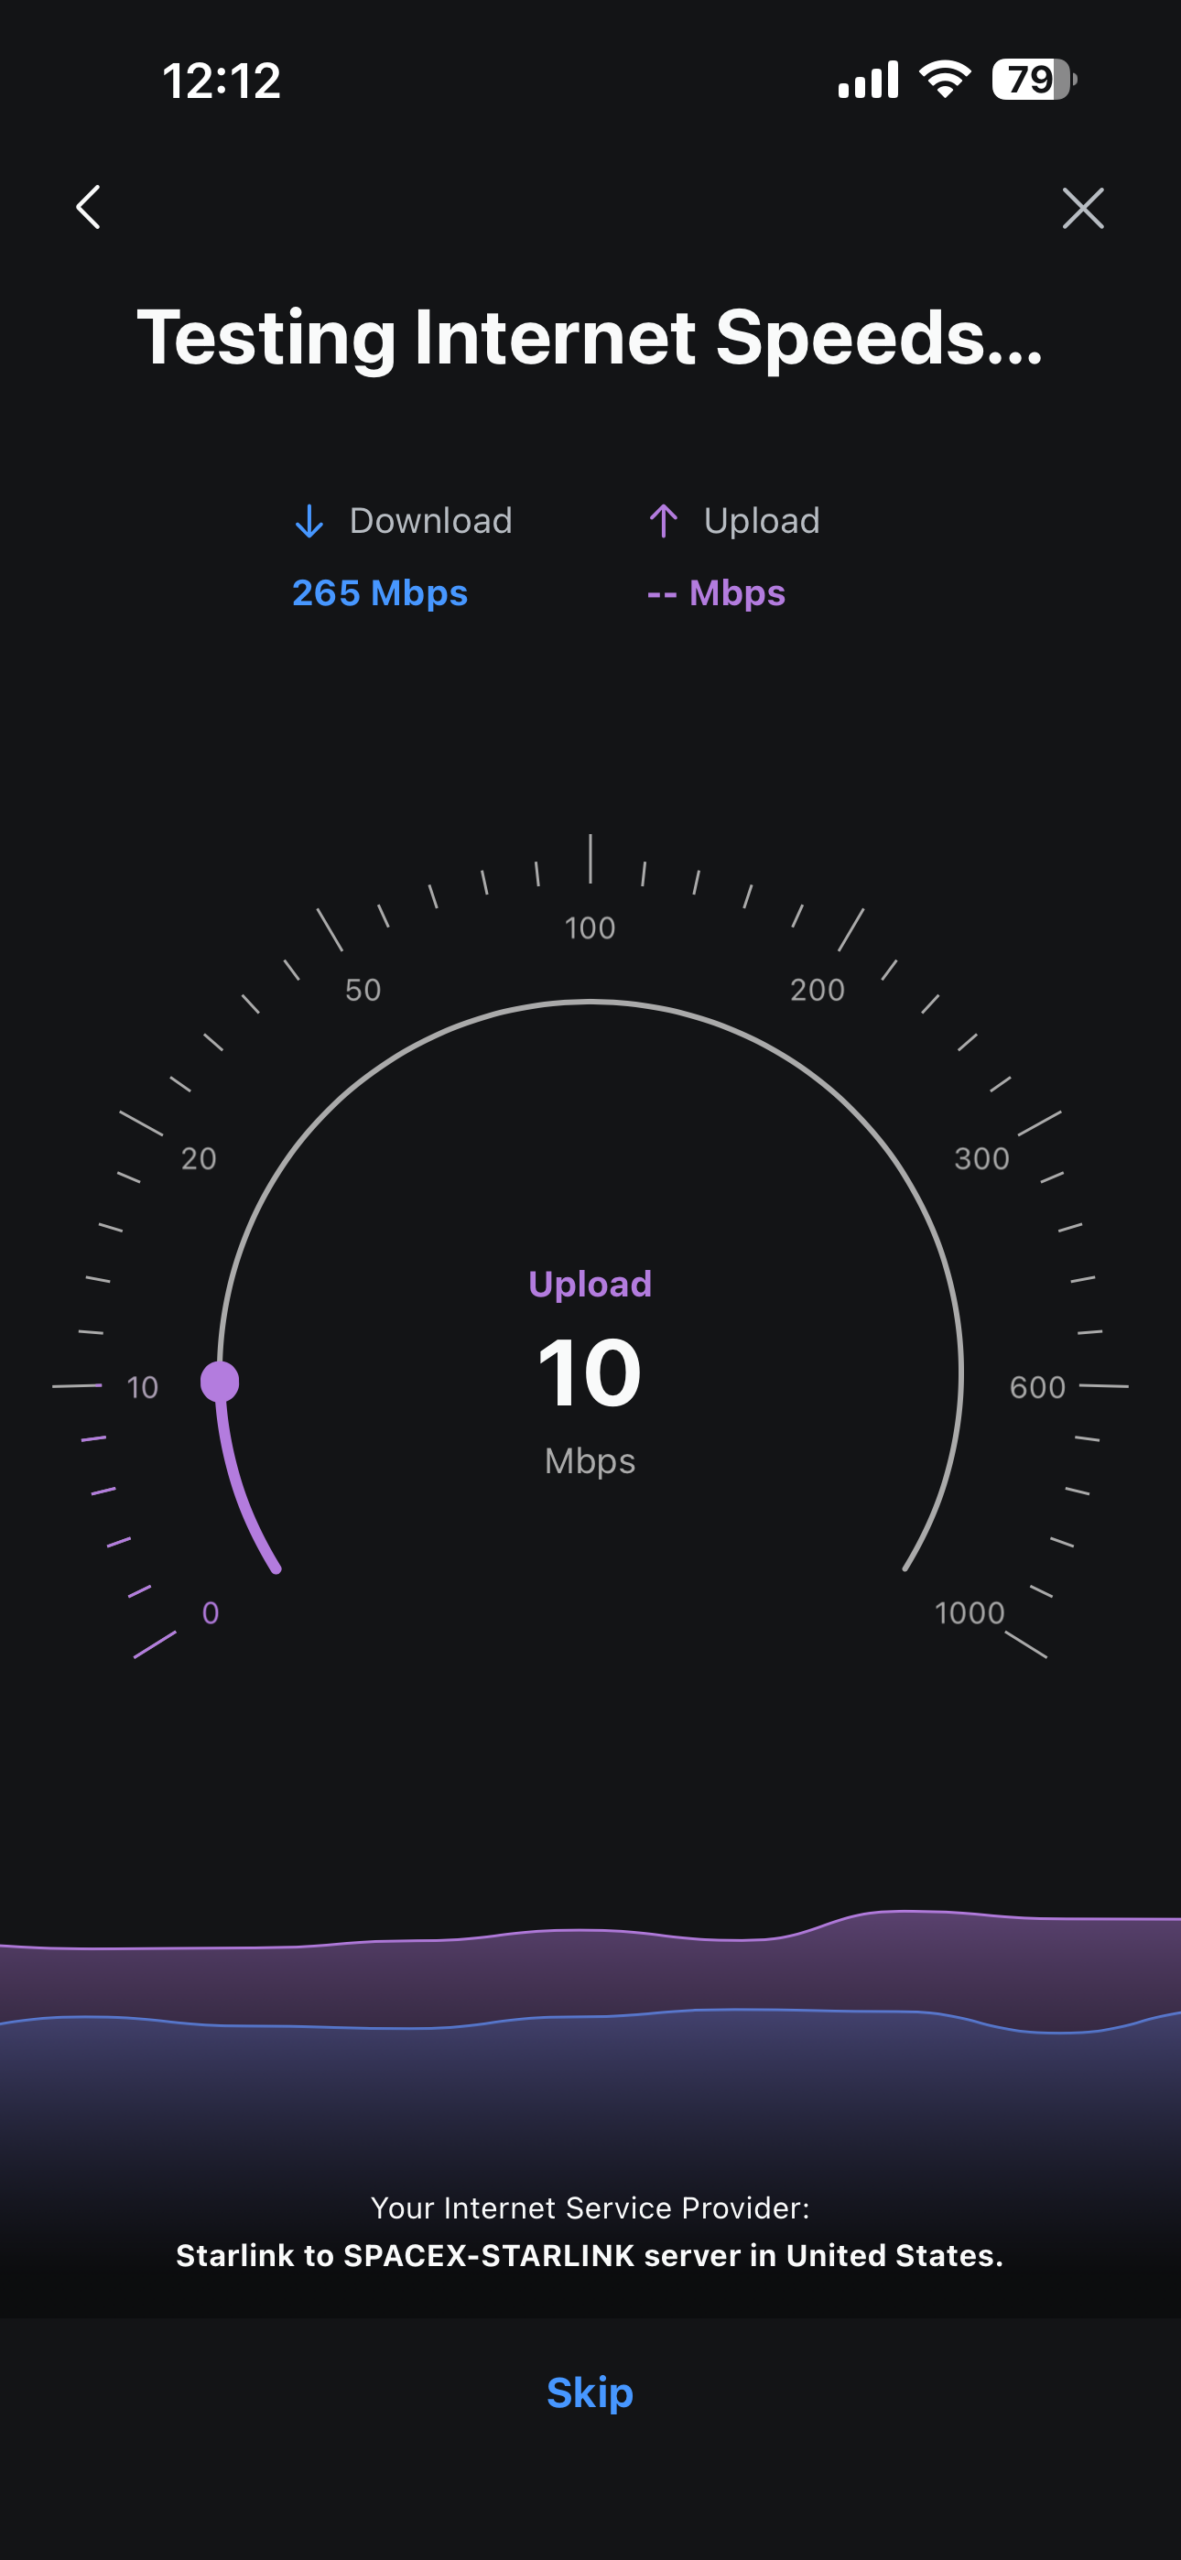
- It will do a speed test, let that finish and tap Next.
- The router will then begin its setup with the default configuration.
- Tap Go to Dashboard
- The basic setup is done.
- Issues
- The default IP range of the internal network is 192.168.1.0/24. This can be a problem if your ISP uses the same IP range. You will want to change it on the ISP equipment or routing will fail. This is due to the same route cannot be on two interfaces of the UDM since it will not know which interface to send the traffic out of.
Device Adoption
- You can do this through the App which is how I typically do it, or you can login to the router itself by going to its IP or https://unifi.ui.com in a web browser and logging in with your Unifi Account.
- When you go under devices, you will see something similar to this.

- Tap the device and then click Adopt Device

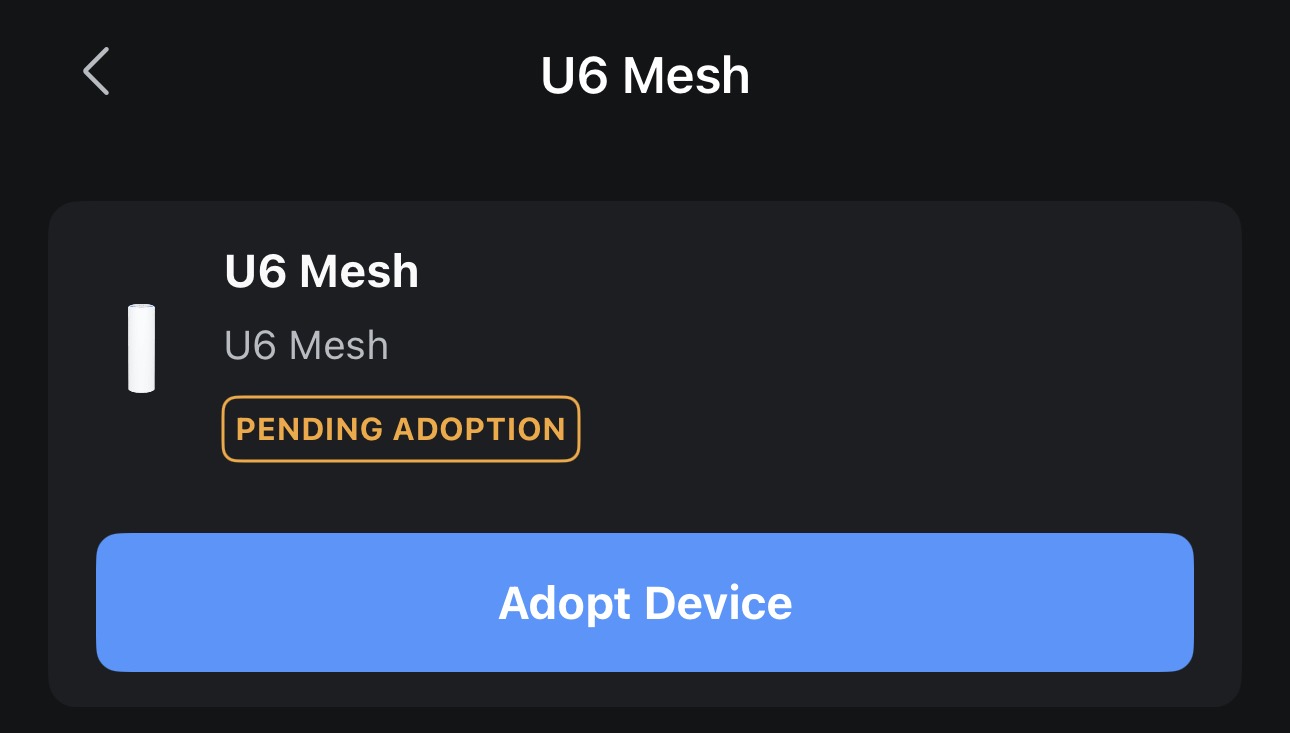
- Unifi will then grab the device and apply its settings to it, it may also do software upgrades if needed but this usually doesn’t take more than a few minutes.
- If this is a used device, reset it to factory default before adopting it.
- I always suggest that you assign static IP addresses to any network devices.
- The reason for this is that if you lose power and the device starts faster than the router it will default to the default IP address. While it may still work you won’t be able to manage it until you reboot it.
WiFI Setup
- You have a decision to make. Unifi can handle up to 4 SSID’s per radio.
- This means you can have 4 2.4Ghz and 4 5ghz SSID’s for a total of 8.
- In my example you will create and SSID that will have both but it eats up 2 SSID’s to do that. It cuts down on sprawl because the SSID is the same for both and who really wants to remember 8 passwords.
- This means you can have 4 2.4Ghz and 4 5ghz SSID’s for a total of 8.
- Decide on your SSID name, what I typically do on existing installations is to create an SSID that is identical to the existing one on the other hardware.
- The reason for this is that devices will automatically connect and you don’t have to change it on them. This works well for hardware that you are currently using. You can create that and be done, but lets say its called Netgear123 you probably don’t want to use that SSID for ever. The more SSID’s you use can also impact performance so less is better.
- I find the configuration is easier through the web interface vs the App so login to unifi.ui.com and open your console.
- Click on Settings, its the Gear icon on the left side of the page near the bottom.
- Click WiFi and then click Create New
- There are a lot of options under there so we’ll just go simple.
- Enter the SSID name
- ENter the Password
- Broadcasting AP’s should be All
- Advanced should be Auto
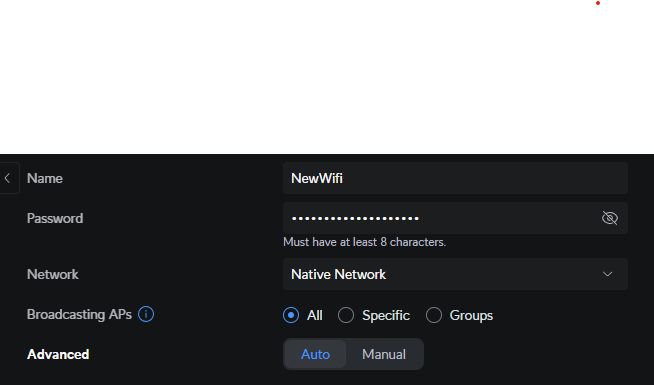
- Click Add Wifi Network at the bottom of the page.
- Test after it deploys
- You are done.
This should be done in about 15 minutes and get the basics up and running. There are things you might consider before statically assigning IP’s to network devices, creating VLANs, Creating Port Profiles etc… but you should be able to get on the internet and WiFi if you have AP’s. I will blog about the more advanced features as time allows.